


How to Replace a NOx Sensor: Step-by-Step Guide
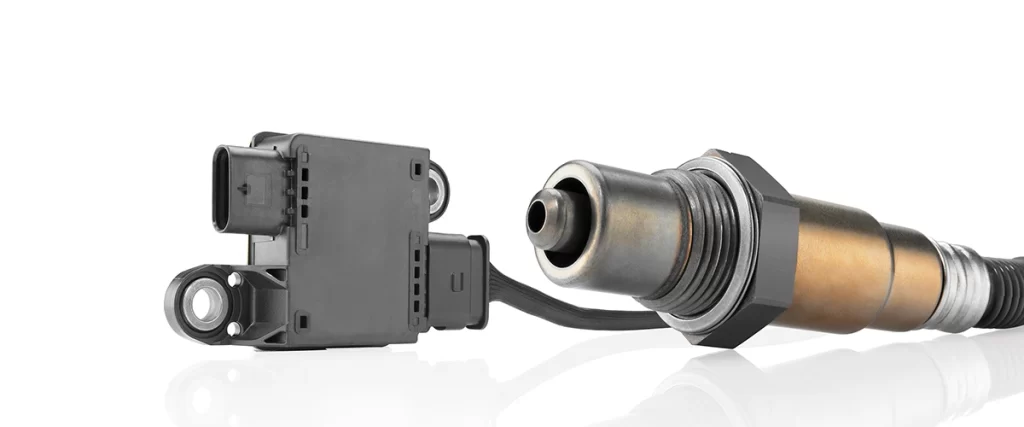
The NOx sensor is a critical part of the vehicle’s SCR (Selective Catalytic Reduction) system, responsible for detecting nitrogen oxide levels in exhaust gases. When it fails, it triggers check engine lights, deactivates emission systems, and may reduce engine power. Whether you’re replacing a failed upstream or downstream NOx sensor, this step-by-step guide will help ensure a safe and accurate installation.
🧰 Tools & Materials Needed
- OBD-II scan tool
- Oxygen sensor socket or NOx sensor removal tool
- Torque wrench
- Anti-seize compound (nickel-based)
- New OE-quality NOx sensor
- Safety gloves
- Jack & stands or vehicle lift (if necessary)
⚠️ Note: Always refer to the vehicle’s service manual for location and part specifications.
🛠 Step 1: Identify the Faulty Sensor
Most vehicles have two NOx sensors:
- Upstream sensor (between turbo and SCR catalyst)
- Downstream sensor (after SCR catalyst)
Use a diagnostic tool to confirm which one is faulty using codes such as:
- P2200 – NOx sensor circuit fault
- P229F – Sensor stuck reading
- U029D/U029E – Lost communication with NOx sensor
⚡ Step 2: Disconnect the Battery
To avoid electrical damage or airbag interference:
- Disconnect the negative battery terminal
- Allow the system to discharge for 5–10 minutes
🔍 Step 3: Locate the Sensor
Locate the sensor based on its bank:
- Follow the exhaust system under the vehicle
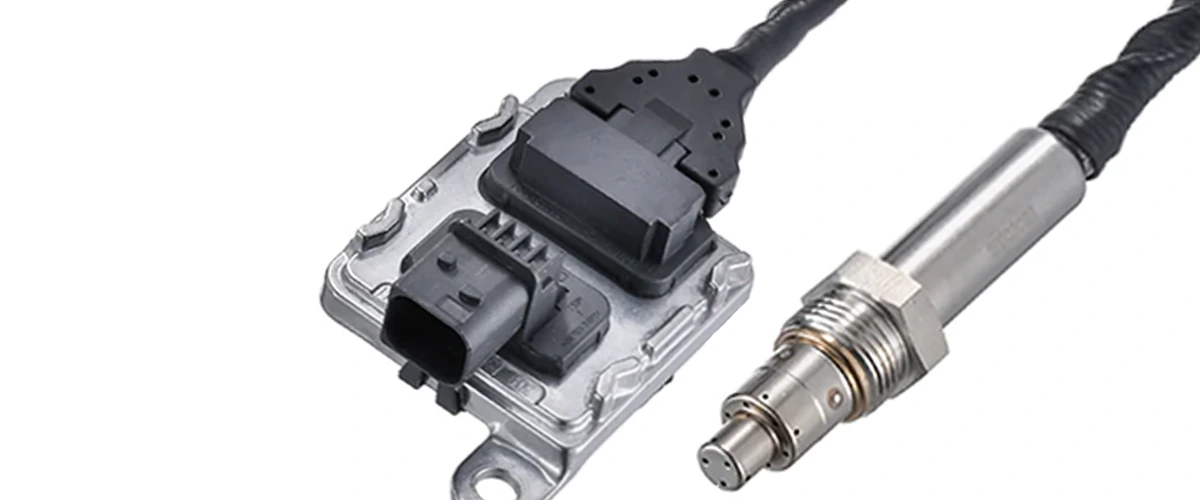
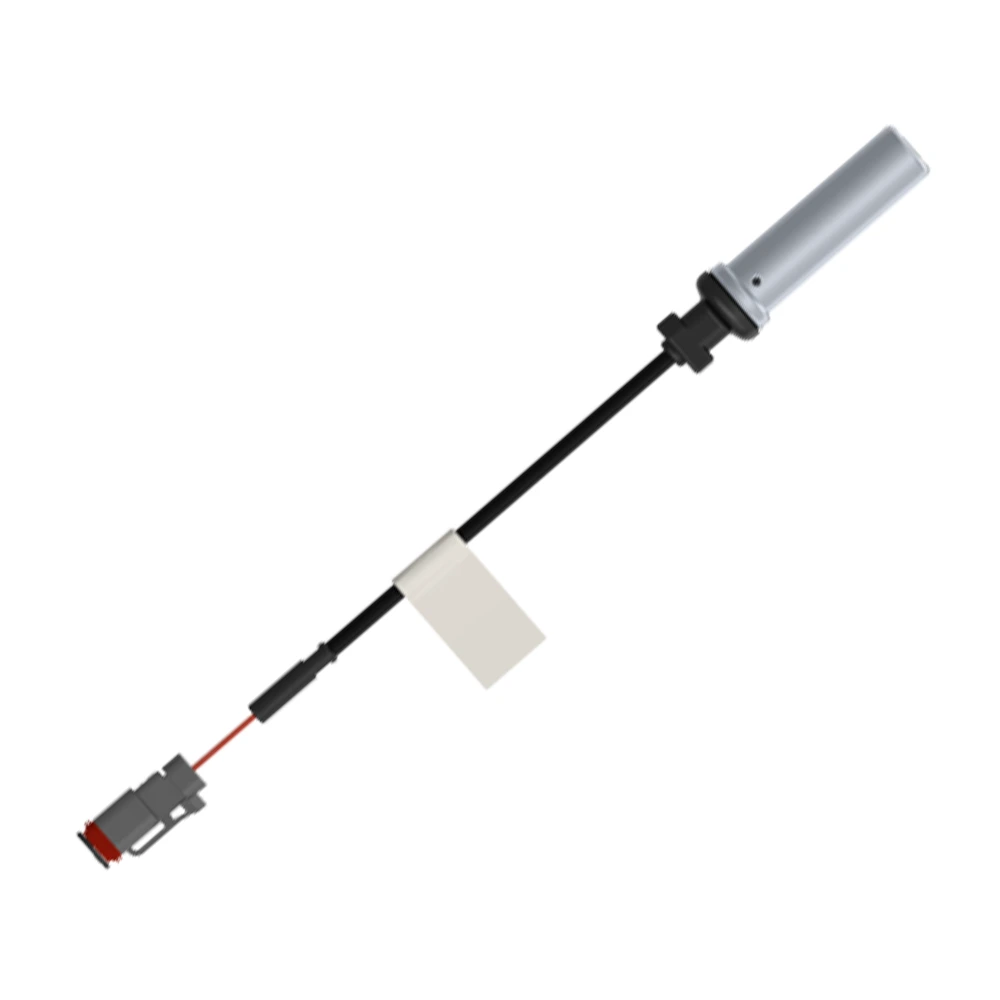
- Look for the probe with a thick protective wire leading to a control module or connector
📌 Some NOx sensors are installed in tight locations—plan lift access or remove panels if needed.
🔧 Step 4: Remove the Faulty NOx Sensor
- Disconnect the sensor wiring connector
- Use an oxygen sensor socket or NOx removal tool
- Turn counterclockwise to loosen the sensor
- Carefully remove the sensor from the exhaust pipe
Caution: Do not twist the wire while turning the sensor.
🧩 Step 5: Install the New Sensor
- Apply a small amount of anti-seize compound to the sensor threads (avoid the probe tip)
- Thread the new sensor in by hand
- Tighten with torque wrench to manufacturer spec (commonly 40–55 Nm)
- Reconnect the sensor wiring harness
🚫 Avoid overtightening; it may crack the sensor or damage exhaust threads.
🔄 Step 6: Perform Sensor Reset or Adaptation
Using a scan tool:
- Navigate to
SCR > NOx Sensor > Replacement/Reset - Perform sensor initialization or adaptation
- Clear old DTCs
- Monitor live sensor values to confirm functionality
Tip: Some vehicles may require a short test drive to complete the relearning process.
✅ Post-Replacement Checklist
| Item | Completed? ✅ |
|---|---|
| Confirmed correct sensor location | |
| Battery disconnected | |
| Old sensor removed with correct tool | |
| New sensor torqued to spec | |
| Connector securely plugged in | |
| Scan tool reset performed | |
| Fault codes cleared | |
| Test drive completed and values verified |
Summary
Replacing a NOx sensor is straightforward with the right tools and attention to system calibration. Skipping calibration or using incorrect parts can lead to repeat failures and emission system warnings. Always use OE-compatible sensors and perform proper resets to ensure a smooth repair process.
From an engineering perspective: The NOx sensor is only as good as its installation—mechanical precision and signal integrity go hand in hand.
Series Navigation
- Understanding NOx Sensors: Basics and Importance
- NOx Sensor Technology Deep Dive
- Integration of NOx Sensors in SCR After-Treatment Systems
- NOx Sensor Selection Criteria for Aftermarket Applications
- Troubleshooting and Maintenance of NOx Sensors
- Why NOx Sensors Fail: Common Causes, Diagnostics, and Prevention
- Guide of Troubleshoot a NOx Sensor
- ✅How to Replace a NOx Sensor: Step-by-Step Guide
- Common Faults in NOx Sensor Replacement