


Common Mistakes in Acceleration Sensor Replacement
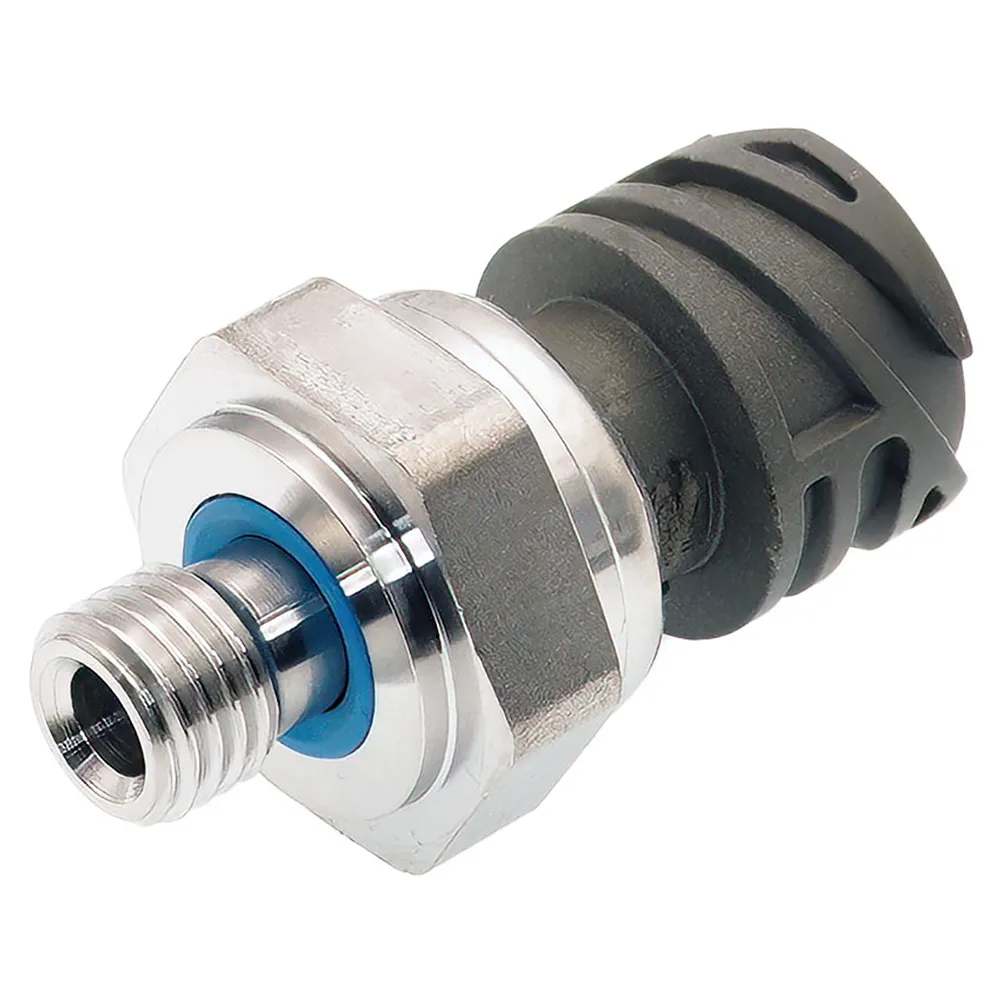
The acceleration sensor—also called a G-sensor or longitudinal/lateral acceleration sensor—is a key component in Electronic Stability Control (ESC), ABS, and vehicle chassis systems. It monitors real-time acceleration forces along the vehicle’s axis. Replacing this sensor requires care, alignment, and calibration. This article outlines the top 7 mistakes technicians make when replacing an acceleration sensor and how to avoid them.
❌ Mistake 1: Incorrect Sensor Orientation
G-sensors are directional and must be installed in the correct X (longitudinal), Y (lateral), or Z (vertical) orientation.
🔧 Why It’s a Problem: If installed backward or upside down, the system receives inverted or false signals, causing incorrect ESC or braking behavior.
Tip: Always align the sensor according to the arrow or orientation mark on the housing.
❌ Mistake 2: Skipping Zero-Point Calibration
After installing the sensor, zero-point calibration must be performed so the control module knows what “0 g” looks like at rest.
🔧 Why It’s a Problem: Without calibration, the system interprets the wrong reference point and triggers DTCs like C1422, U0124, or ESC malfunctions.
Solution: Use a scan tool to calibrate the G-sensor after installation on level ground.
❌ Mistake 3: Mounting on Uneven or Damaged Surfaces
Some technicians install sensors on warped brackets, bent sheet metal, or noisy mounting surfaces (e.g., near transmission tunnel vibration).
🔧 Why It’s a Problem: The sensor detects false movement or noise vibration, leading to erratic G-data and false ESC activations.
Tip: Only mount on a flat, rigid, and clean surface as recommended in the service manual.
❌ Mistake 4: Using Incompatible or Non-OE Sensors
Installing low-cost aftermarket sensors that do not match the original vehicle specs or communication protocol (CAN vs analog) can result in calibration or function errors.
🔧 Why It’s a Problem: Even if the connector fits, the signal type or range may be incompatible with the vehicle ECU.
Solution: Match the OEM part number or use OE-equivalent sensors that have been tested for accuracy.
❌ Mistake 5: Ignoring Torque Specs
Overtightening or loosely securing the sensor can damage internal components or allow vibration, which affects sensor accuracy.
🔧 Why It’s a Problem: Loose mounting causes motion lag; overtightening can crack the sensor housing.
Tip: Use a torque wrench to apply manufacturer-specified torque (commonly 6–10 Nm).
❌ Mistake 6: Reinstalling Without Verifying Wiring
Technicians may overlook wiring or connector issues such as moisture, corrosion, or frayed insulation.
🔧 Why It’s a Problem: Faults in the wiring harness may cause intermittent signal loss even if the sensor is new.
Tip: Always check for clean, dry, and corrosion-free connectors. Repair or replace damaged harnesses before reassembly.
❌ Mistake 7: Skipping the Live Data Test
After replacement, many skip verifying the new sensor’s performance via live data in the scan tool.
🔧 Why It’s a Problem: You may miss stuck readings, unexpected spikes, or failed calibration without checking real-time data.
Tip: Perform a short test drive and monitor longitudinal and lateral acceleration values to confirm smooth sensor response.
✅ Best Practice Summary
| ✅ Do This | ❌ Avoid This |
|---|---|
| Align sensor with orientation arrows | Installing sensor upside down |
| Perform zero-point calibration | Skipping sensor initialization |
| Mount on flat, vibration-free surfaces | Installing on bent or uneven brackets |
| Use OE-compatible part numbers | Using unverified aftermarket sensors |
| Torque sensor correctly | Over- or under-tightening the sensor |
| Inspect and clean wiring/connectors | Ignoring corrosion or broken pins |
| Test live data after installation | Replacing without real-time testing |
The acceleration sensor may be small, but its impact on vehicle safety is huge. Poor installation or skipped calibration can compromise ESC functionality and driving stability. By avoiding these 7 common mistakes, your workshop or aftermarket operation can reduce warranty claims, improve vehicle reliability, and ensure safe handling in all driving conditions.
In engineering terms: When the vehicle’s sense of motion is misaligned, every system that depends on it becomes blind.
Series Navigation
- Understanding Longitudinal Acceleration Sensors in Modern Vehicles
- Design Principles and Sensing Technologies Behind Automotive Accelerometers
- Performance Parameters: Accuracy, Bandwidth, and Drift
- Testing and Qualification of Acceleration Sensors
- Why Acceleration Sensors Fail: Top Causes, Failure Modes, and Diagnostic Guide
- How to Troubleshoot Acceleration Sensors in Modern Vehicles
- How to Install an Acceleration Sensor: Step-by-Step Guide
- ✅Common Mistakes in Acceleration Sensor Replacement